Sunday, October 10, 2010

Winter Hang-Ups

As the weather is getting colder, I'm reminded of last winter's hang up....
Help! My entryway is overflowing with jackets, mittens, and hats. The kids manage to put their jackets and hats into the entryway closet (or somewhere close) but everything is just in a pile. It's hard to find matching gloves. Where did the baby's jacket go? Occasionally I'll hang up the jackets, but its inevitable that they all end up back on the floor. The kids can't reach to hang up their own coats. And let's face it, I'm a little lazy. Why hang it up when I'm going to need it in a few hours?
 
But then I walked into my friends house, who is the hostess. She had a nice shelf with hooks to hang up all the coats and jackets. What a great idea!! I asked her about it and she said she had gotten it on sale. I looked it up online - $80. I showed my husband the picture and we brainstormed. Here is the solution he came up with.

The great thing about building our own coat rack/shelf is not only the money we saved, but also we got exactly what we wanted. I needed something a certain width and depth to match our entryway. I also needed plenty of hooks, as well as shelf space to organize hats and gloves and such. The top part could be used for displaying pictures or knick knacks.

So, my husband measured the distance between the closet door and the end of the wall. He made two shelves, to fit the boxes I had picked out. He put six hooks to give us plenty of places to hang up all our stuff.

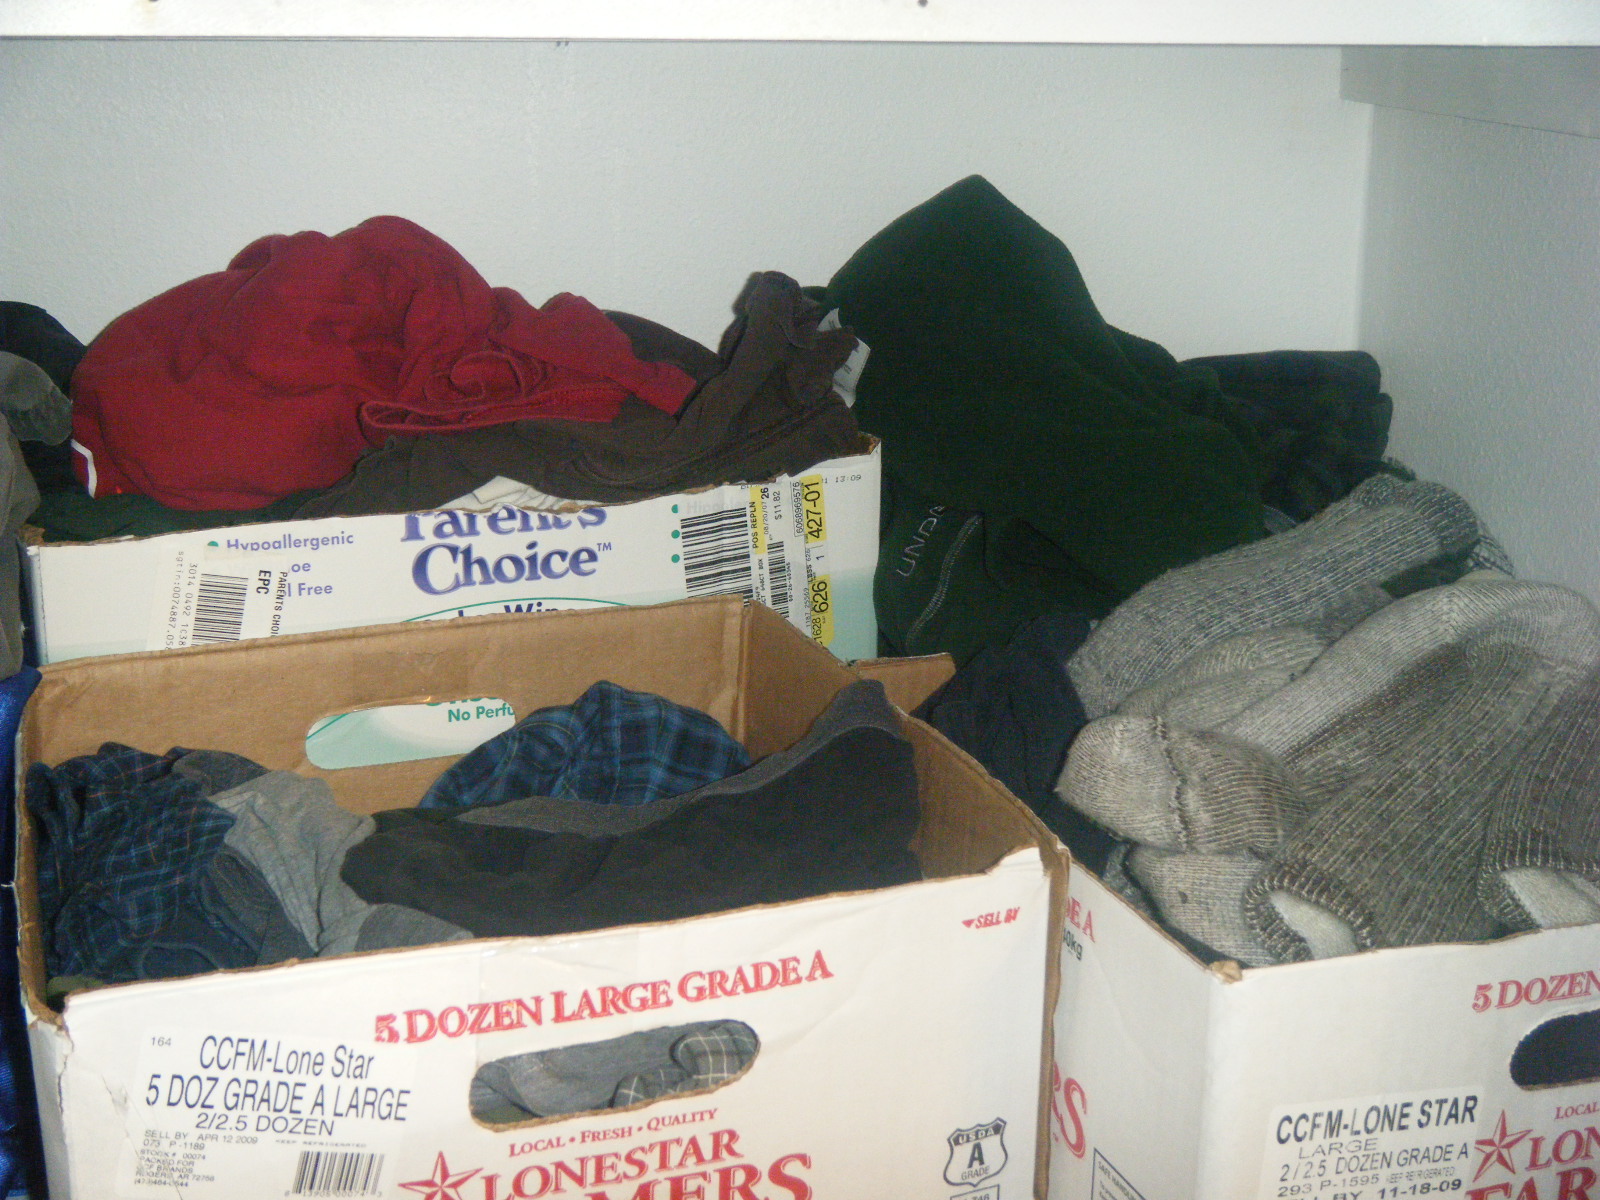
One box was filled with hats and gloves. Another held raincoats and an umbrella. The boxes I choose were from jugs of bottled water, cut down to be a little shorter. I decorated one box with my kids' artwork/handprints and then covered it with clear contact paper. The other box I decorated with plain white paper and stenciled some scripture and then covered it with contact paper.

We mounted it at a level where the kids can get down their own jackets and hang them back up themselves. The gloves and such are now organized so that they aren't lost in the mess. My husband enjoyed the wood-working project and I enjoyed decorating the boxes and displaying some family pictures and other special items.

Problem: how to organize the winter wardrobe in a way that is accessible to all members of the family and in a way that can stay neat

Traditional Solution: buy a coat rack type shelf for $80 (maybe less if you find a good deal), that may or may not fit your house

Creative Solution: Make your own shelf with minimal cost, designing to your specific taste and space and can fit your storage needs. Supplies we used: 2 1”by6” pieces of wood, hooks, boxes, paper, contact paper. Minimal tools needed: skill saw, speed square, screwgun and screws. Sanding and routing will give it a more finished look, but it is not necessary. Add shelves to fit your storage needs.

Thursday, October 7, 2010

How to keep a shelf or drawer organized can be a challenge. Small things get lost among larger items. Items spill over into areas that are supposed to be for different items. How to keep everything in its place and have a place for everything Рthe clich̩ of organization.

This is where my box collection/obsession comes in. You could buy drawer organizers and shelf organizers and cutesy containers and boxes. However, I choose to use boxes and containers that I already have (mostly that are free) and put them to good use.

Organizing does not have to be expensive.  It just takes some forethought and creativity.

Here are a few examples:

Organize the bathroom cupboard/linen closet. My towels and handtowels and washrags were always getting mixed up. Big towels would spill over on top of the smaller items and they would then be buried. So, I took a box from a 12 pack of soda and cut it to where it only had three sides, with an open top side. I could then nicely stack washcloths inside. I used this box to separate the towels from the handtowels. This simple box has kept my closet much more organized and neater.

Organize the sock and underwear drawer. I took some cardboard from a soda can box (two or three sides, but not a whole box) and used them as dividers to separate underwear from bras from socks.

Organize other items on a closet shelf. My husband does not have a dresser. Most of his clothes are hung up, but the rest are on a shelf in his closet. For awhile it was just a mess of piles of clothes. Now, I took some boxes (from 5 dozen eggs) and cut the tops off. These boxes now help separate his clothes – one for socks, one for t-shirts, one for underwear. Then, other items, such as work out clothes and shorts can be in its own pile, but separated from the other clothes. The key to organizing clothes in this way is to find boxes that are shallow enough to not loose things in the bottom and big enough to actually hold several items of clothing and that will fit into your designated space.

Organizing the kitchen cupboard. I have used some boxes from 24 pack sodas to separate some items on the cupboard shelf. For example, one box has baking items such as cocoa, baking powder, sprinkles, etc. Another box has rice and beans. Another box (this one a more sturdy box) has canned goods.  I also have a small shelf on my counter, with boxes of various sizes for various things.  A box for my husband's snacks and teas.  A box for candy and gum.  A box for produce - like potatoes or onions.  These boxes have helped tame the clutter on the kitchen counter, but still keeps items easy to get to, so they are not lost.

My dresser always manages to collect clutter.  Now, it's a little better, with a box for my lotions/deodorant/etc, two containers for my hairclips and scrunchies, and a coffee cup to collect all the pens and pencils near my bed for any nighttime journaling. 

Similar boxes (a cut down cereal box, for example) are used in the bathrooms to collect hair clips, personal care products, etc.  I found a small vase around the house and used it for the kids toothbrushes.  Another basket for toothpaste, floss, etc.

Diaper boxes are good for organizing kids toys on a shelf - one for blocks, one for small stuffed animals, one for random toys.  I also like to use empty wipes containers for items on our craft shelf - one for crayons, one for glue and scissors, etc.  

I take large boxes and cut them way down as drawer organizers.  I have a place for pens/markers/pencils in my drawer.  Another small box for medical items I like to keep handy - the thermometer, a few ointments, etc.  In a different drawer, there are small boxes and containers to manage the clutter - a place for batteries, a place for loose change, a place for office supplies like tape and wall tacks, a place for extra keys we have, etc.  

I collect boxes of various sizes and shapes to find just the right one for the right items.  I intend on decorating many of them, to make them more appealing and fit the decor of a room or shelf.  For decorating ideas check out some of my other posts about my box collection.

Sunday, September 26, 2010

How to Make Halloween Costumes

I have a month to finish making costumes for my kids. I'm not really into Halloween but my kids do love to play dress up, so it will be fun to have some new costumes. Store bought costumes seem to run around $20 or more. I like the challenge though of making costumes, using a lot of materials that we already have around the house.

Here are some ideas for costumes or for the accessories to go with the costumes.
  1. At a recent birthday party, the kids wore headbands that had craft foam for the horns or ears glued to them to look like different animals (giraffes, frogs, zebras, dogs). Then the kids had their faces painted. It was simple, yet the kids looked adorable and they loved it.
  2. Make a tutu to dress up girls of any ages. I saw some videos on youtube for simple techniques for making a tutu. Tutu How-To and No Sew Tutu
  3. Turn your son into a superhero. Making a cape is not too difficult. Here are a few videos on how to make a cape. Cape with Hood and No Sew Cape You can also had your own emblishments (a superhero symbol, your child's name, etc).


In the past, I made a princess dress for my daughter. I borrowed her friends' princess dress to get an idea of a design and how to make it. Then I used scrap material (blue and white) and some lace. My other daughter dressed as a sheep – white outfit with a black nose. She had a white hat with ears sewn on (that my neighbor had made for her).

This year, I am taking an old red graduation gown and modifying it to fit my three year old. Then I am adding black spots (which I made by tracing circles onto black scraps cut from an old black t-shirt). With a few other embellishments, she will be a ladybug. I'm thinking black tights and a black turtleneck underneath, a headband with antennae, maybe a tutu to match. I'm still working on it.

For my other daughter, she wants to be a superhero, so we will have some sort of cape and mask and probably just wear it with an existing outfit. My baby, I'm thinking a bumblebee, because that will go nicely with her ladybug sister. Yellow and black stripes, and a decorated headband and tutu.

Problem: What to wear for halloween or use as dress up clothes

Traditional solution: Buy costumes

Creative solution: Make your own costumes (with sewing or without), add embellishments to existing outfits.  Making your own dress up clothes not only saves money, but it can be personalized to your child's size and interests.

So, what kind of dress up outfits will you make (or buy) for your kids? Any ideas?

Wednesday, September 22, 2010

Creative Boxes

Do you know how expensive boxes can be? Just the other day I saw a nice storage box listed for $40! Now, I love cutesy containers, but $40 for one box?! I have found a much cheaper way and have turned collecting, decorating, and using boxes into a hobby.

Many boxes and containers come into my home every week for free. For example, the box that the cereal or crackers come in, coffee and nut tins, diaper boxes and boxes from jugs of water (these are actually the best because of their sturdiness). 

Today, for example, I took two cracker boxes, cut off the top flaps, trimmed them down to be a little shorter, and then glued decorated card stock on all sides. The kids helped me a little with the decorating. We put their names on the side. These boxes are now on the shelf so that each kid has a place to put their current artwork or any paper that is given to them that they want to keep. When the box gets full, we will weed out some things that don't need to be kept and others can be put into a scrapbook or hung up somewhere.


Problem: what to do with all the coloring sheets, drawings, cards, scrap pages that accumulate with children.

Traditional solution: buy office containers or some sort of filing system. Average cost at the container store: $10 each, with some filing systems costing $40.

Creative Solution: take boxes we already had in the house (finding boxes that are the perfect size for where you want them), let the kids help decorate them to make it more personal, begin organizing!

Yes, cracker boxes might be more flimsy than store bought solutions, but they can be easily replaced!